
One of the best email platforms available is Microsoft Outlook. It has many strong features that give you control over your emailing activities. One of them is calendar sharing.
Learning how to share your Outlook calendar is the best way to make it easier for others to stay on top of your schedule.
To share a calendar with someone who works for the same company, the procedure is very straightforward.
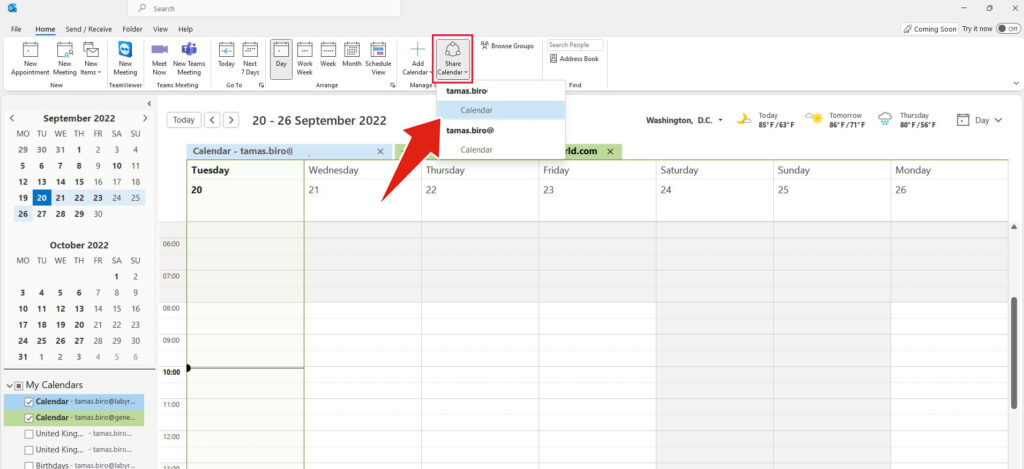
Step 1. Open Outlook. In the lower left corner, select the Calendar icon. Using the menu, select Share calendar and click on the calendar you want to share.
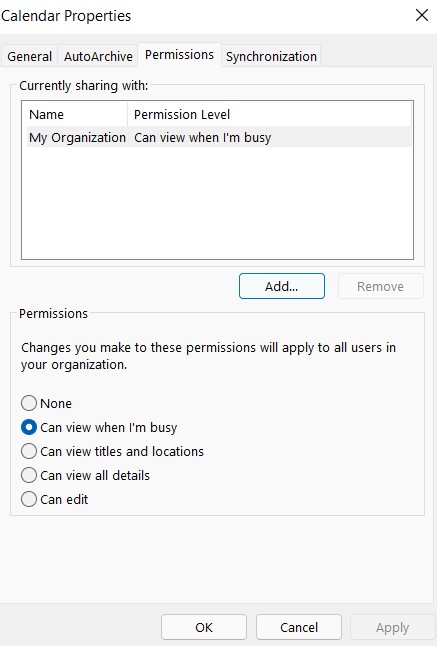
Step 2. The Permissions section of the calendar Properties window will be presented to you. You’ll see a list that indicates who has access to your calendar currently. By default, Outlook is configured so that no one can see anything other than when you’re busy. To share your calendar with someone, click the Add… button.
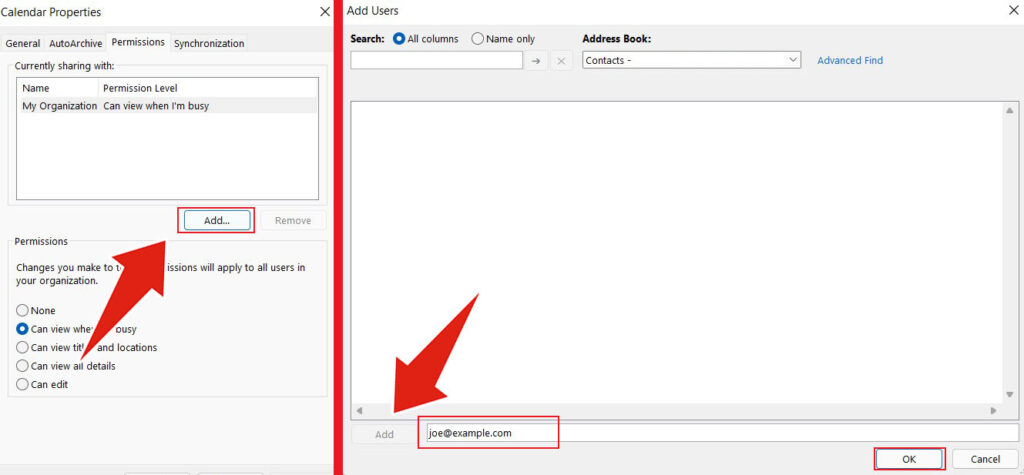
Step 3. Your address book will open up and by default display all of the contacts in your company. Add the person who you want to share your calendar with and click OK.
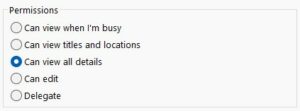
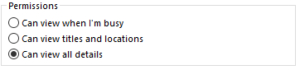
In the Permissions window, the person you selected can be seen. They will by default have the permission level Can view all details which you can modify if necessary.
Step 4. Click OK to share your calendar once you’re finished.
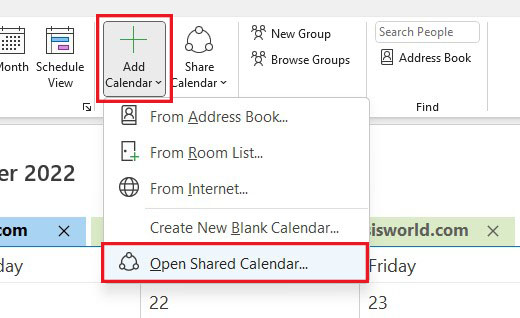
Step 1. In the lower left corner, select the Calendar icon, Select Add Calendar > Open Shared Calendar.
Step 2. Enter the name of the person who has shared a calendar with you in the window that appears, and then click OK. You can now see the calendar by selecting it from the list of Shared Calendars on the bottom left corner.
The procedure is very similar if you want to share a calendar with someone who does not work for your company.
Step 1. In the lower left corner, select the Calendar icon > Share Calendar and click on the calendar you want to share.
The Calendar Properties window, which displays who currently has access to your calendar, will open on the Permissions tab.
Step 2. To share your calendar with someone, click the Add… button. Your address book will be displayed as a result. Click Contacts on the Address Book dropdown menu.
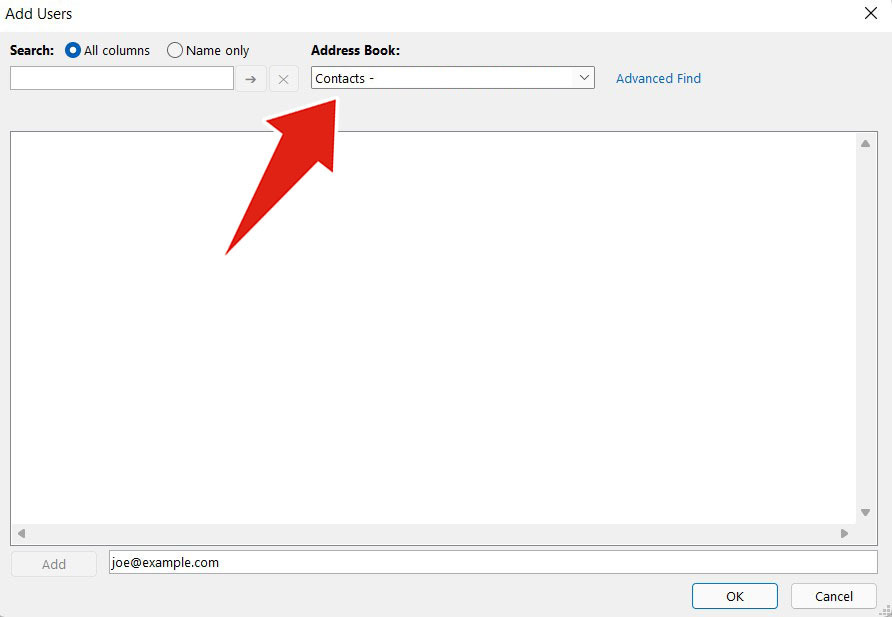
Your address book’s external contacts will all be displayed here. If the person you want to share your calendar with isn’t listed here, you’ll need to add them as a contact first.
Step 3. Add the person you want to share your calendar with and then click OK.
The Permissions window will now include the person you selected. You can change their default permission level, which is Can view all details if you’d like. You cannot grant external individuals Can edit or Delegate rights, in contrast to sharing with those within your organisation.
Step 4. After selecting the desired permission click OK to share your calendar.
Step 5. An email is sent to the person with whom you’ve shared your calendar. If they choose Accept and view calendar, they’ll be directed to Outlook.com where they can sign in with a Microsoft account and access the shared calendar.

© 2025 Labyrinth Technology Limited. Company number 04326900. Web Design by Netzoll
Empowering London Businesses with Efficient IT Solutions to Save Time and Stay Ahead of the Competition.