You might be a professional who needs to record your screen for a work presentation, a software developer making a how-to video, or just someone who wants to post a useful video to YouTube. Luckily, Windows offers a built-in tool that lets you record your screen activity.
Record Your Screen Using The Game Bar
Windows 10 and Windows 11 have a built-in program called the Xbox Game Bar that can record your screen. Although it was primarily made to record Xbox and PC gaming sessions, it can also be used to record other apps and activities.
- Press Windows key
 + G on your keyboard.
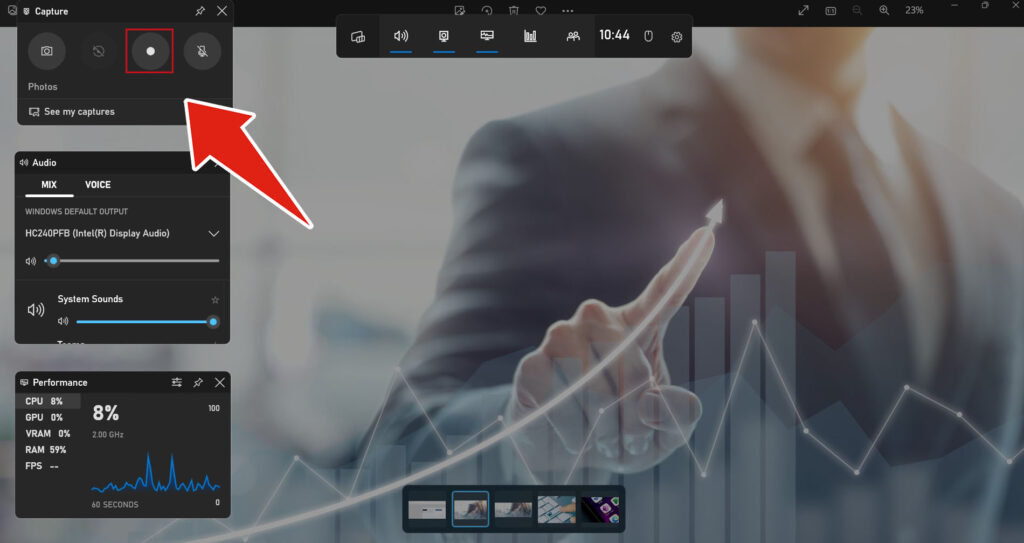
 - You’ll see a number of widgets in the Game Bar overlay, including Capture, Audio, and Performance. You can add or remove these widgets at any time using the main toolbar that is located at the top of the screen.
- In the Capture widget, select Record.
- A new widget appears on the upper right corner of your screen once the recording has begun. You can see the duration of the recording, manage your microphone or stop the recording.
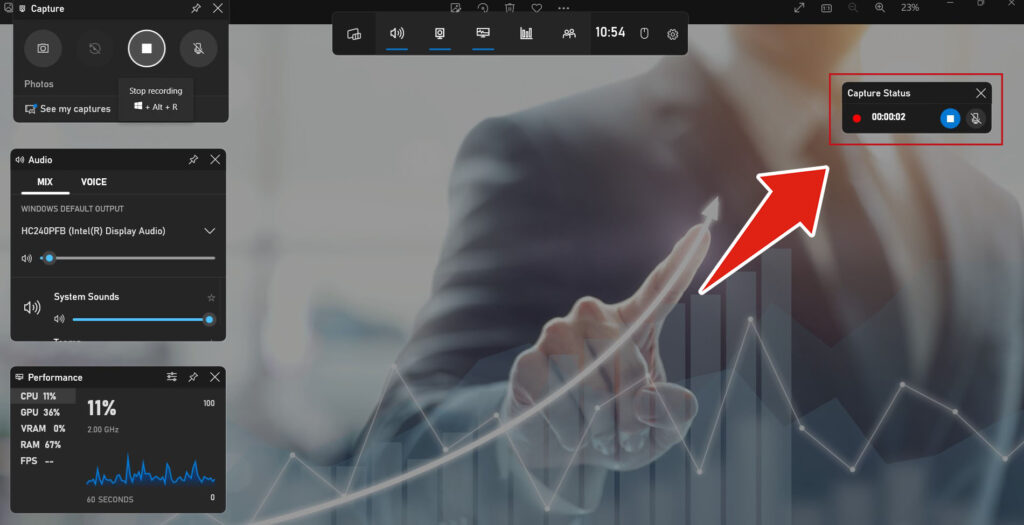
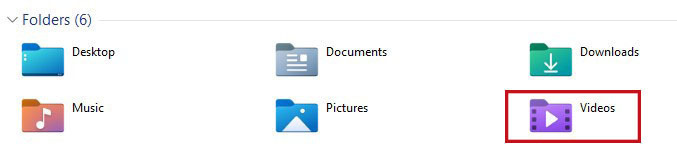
- When you’re done, click on the Stop button. A popup message notifies you that you’ve made a recording on the right side of the screen. You can access the recording by clicking on this message or opening your Videos folder.
Game Bar Limitations
The Game Bar makes it simple to record your screen, but there are some limitations.
- You cannot record your desktop; you must be recording an app.
- Certain applications, such as File Manager, cannot be recorded with the Game bar.
Record Your Screen Using Microsoft PowerPoint
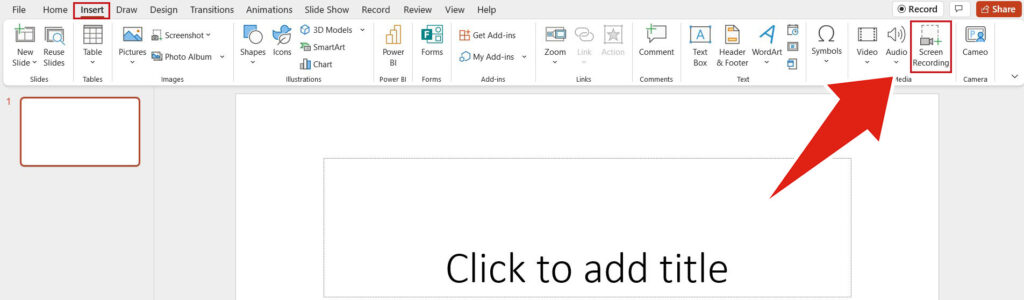
- Open Microsoft PowerPoint, then choose the Insert tab and Screen Recording.
- Your desktop will show up after the PowerPoint presentation has minimised. If you don’t receive a prompt asking you to choose the area you want to record, click Select Area and select the desired area with your cursor.
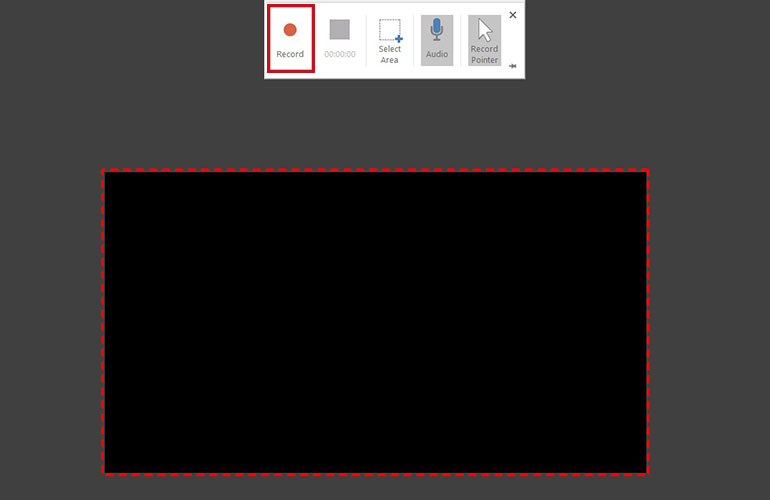
- Click Record once you’re happy with your settings.
- There will be a brief countdown before your recording goes live. Your recording’s control panel will disappear, to make it reappear move your cursor to the top middle of your screen.
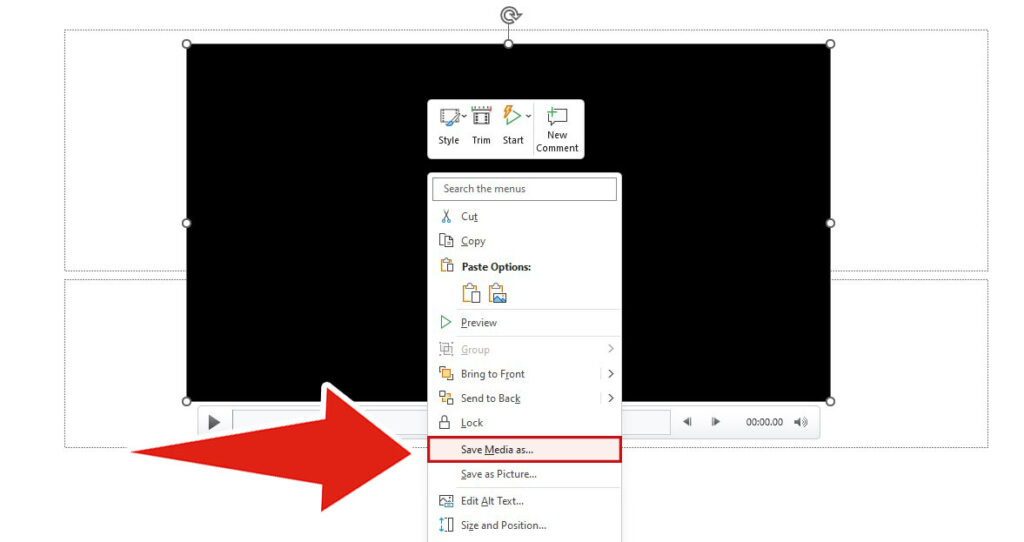
- The recording will be inserted into your slide in PowerPoint after you stop the recording. Right-click the recording and choose Save Media As from the menu to save it to your computer.